Failure to open your garage door due to a faulty gear can never be a good sign. Especially, when you have to leave for work and the door refuses to budge. Begin by checking if the door springs are intact. If the springs are working fine, then the main gear has failed. The main drive gear is usually the weak link in your garage door opener. Fortunately, replacing one is fairly simple and can be undertaken as a DIY task. However, before we venture into repairing one, it is important to understand the common reasons why the main gear fails.
- Standard wear and tear if the gear is old.
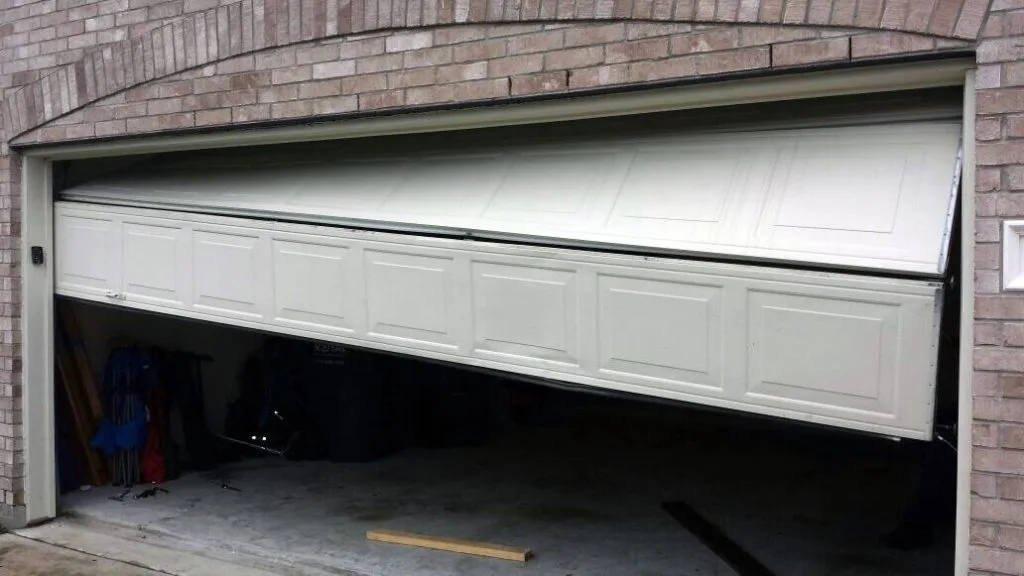
- The garage door is out of balance.
- Faulty piece when manufactured.
- Excessive use
- Tight chain
Preparation and inspection
Begin by unplugging the garage door opener. It is important to begin with this step as it is a safety measure. You don’t want someone to accidentally open the garage door while you are replacing the main gear in the garage door opener.
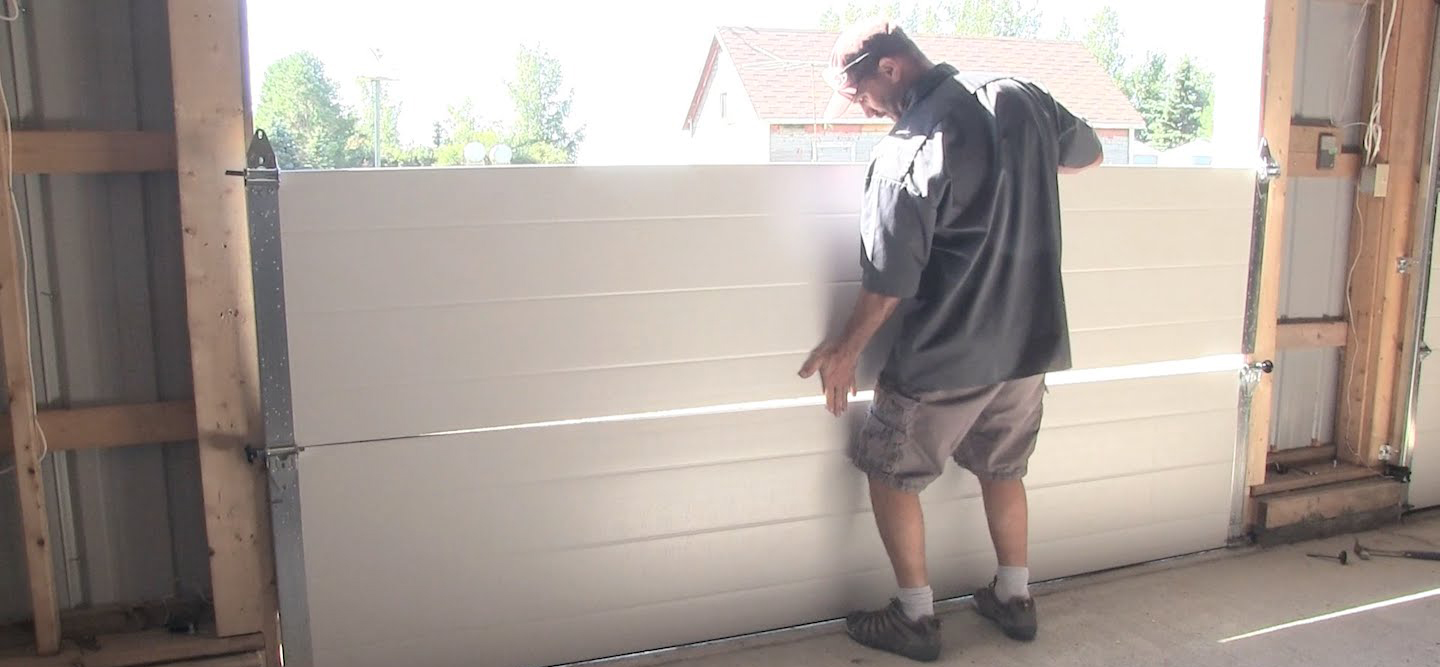
- Pull at the emergency red-colored release rope. After this, close the garage door manually. Keep the garage door completely closed during the repair process. You can also clamp the door down to ensure that it remains closed.
- Examine if the gears are shredded or worn down. If this is the case, then you can start the replacement process. It is important to know the brand and model of the gears and the garage door opener to replace the faulty gears with the correct ones. While most ear kits come with instructions, it is important to know the process thoroughly before starting the replacement.
There is a possibility that your gear inspection may not show anything overtly wrong with them. In such a scenario, it is recommended to consult a professional garage door repairer.
Tools Required
You can complete the replacement of the main gear in a garage door opener with the help of the following tools.
- 3/8-inch nut driver
- 1/4-inch nut driver
- 5/32-inch punch
- 5/16-inch nut driver or socket, with extension
- Hammer
- 1/8-inch Allen wrench
- Flathead screwdriver
Steps for Repairing the Main Gear in A Garage Door Opener
Step 1:
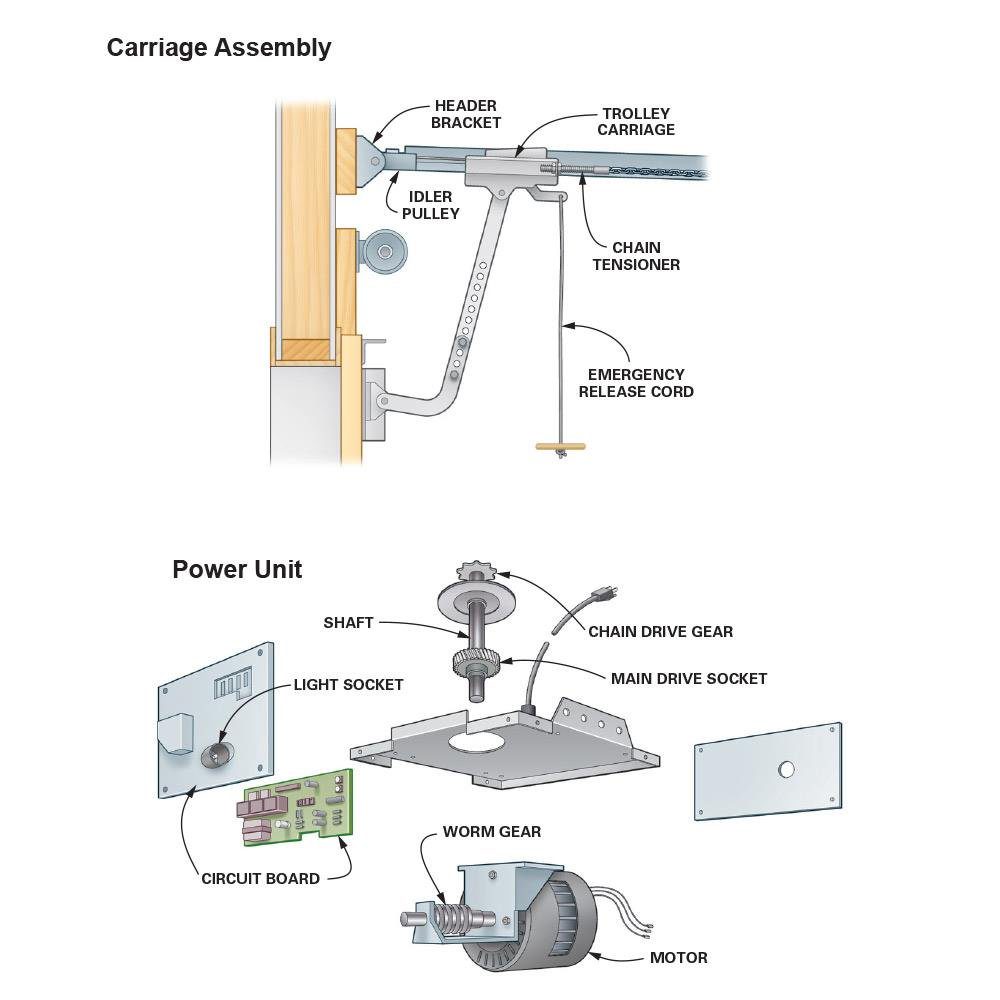
Begin by loosening the chain and the belt’s tension nut. This is located on the garage door’s opener trolley. You can use the wrench for this purpose.
Step 2:
Next, remove the belt pulley retainer cap. This is also called the sprocket. In most products, it comes with a release clip on the back. Look for this clip and you can press it to release the sprocket.
Step 3:
The next step is to remove the chain, however, before you do this, mark the position of the belt or the chain on the sprocket. This is helpful when you are reassembling the unit. After you have market the chain and removed it from the sprocket, it is time to slide the inner trolley of the unit into a closed position so that it correctly engages the outer trolley. Now, carefully place the chain on one end of the rail that is closest to the sprocket. You can secure the chain with a duct tape so that it does not fall on the floor. This will also keep it from twisting.
Step 4:
Once you have completed step 3, you can proceed to remove the 2 end covers and the main housing unit. The end covers are typically attached head screws so you can use a nut driver to remove them. make sure that the wire to the circuit board is unplugged.
Step 5:
Next, you can uninstall the retaining clip and the gear. In this step, you will also have to remove the limit switch. You can remove this assembly by pressing the sides located just underneath the bracket near the drive gears. You may not completely disconnect the wires. It is safe to leave the limit switch assembly hanging by the wires. Also, be mindful not to make any adjustments or modifications to the limit assembly screws. If you lease it as it is then it will ensure minimal adjustment of the limits after the repair is over. You will not be required to readjust it to open the garage door.
Step 6:
Now it is time to unsecure the RPM sensor. You can do this by uninstalling the wire harness. Once you have unplugged the wire harness you can remove the RPM sensor that is held within securing tabs.
Step 7:
Now comes the intricate part. begin by disconnecting the blue, red, and white wires located in the motor. Although, make a note of where these wires go before you remove them. you will notice the wires of the same color enter the same terminals located on the capacitator – red goes in red and blue goes in blue. You can take pictures if you feel that you might forget when you are piecing the motor back together.
Step 8:
Next loosen and remove the screws that are holding the motor assembly on the frame of your garage door opener. Keep one hand under your motor at all times to make sure that it does not fall down as you unscrew it from the frame. Keep it in a safe place once you have removed it off the drive shaft.
Step 9:
Next, continue to remove the head crews that are holding the sprocket assembly on the main chassis. You can do this with the help of a nut driver.
Step 10:
This step is slightly tricky and requires complete focus. Begin by supporting the driveshaft on something like a block of wood. Next, drive the lower tension pin out. You can use a punch for this.
Step 11:
Now that you have access to the faulty gear, remove it and replace it with a new one. First, remove the shaft collar using a wrench. Notice and remember the location of all of these little components so that you can reinstall correctly. Also, remember to only use the replacement parts that are compatible with your model of the garage door opener. Unscrew the nuts holding the motor to the frame and then remove the worn gear. Install the new gear while ensuring that the roll pin sits correctly the new gear. You can now begin reinstalling the components back.
Step 12:
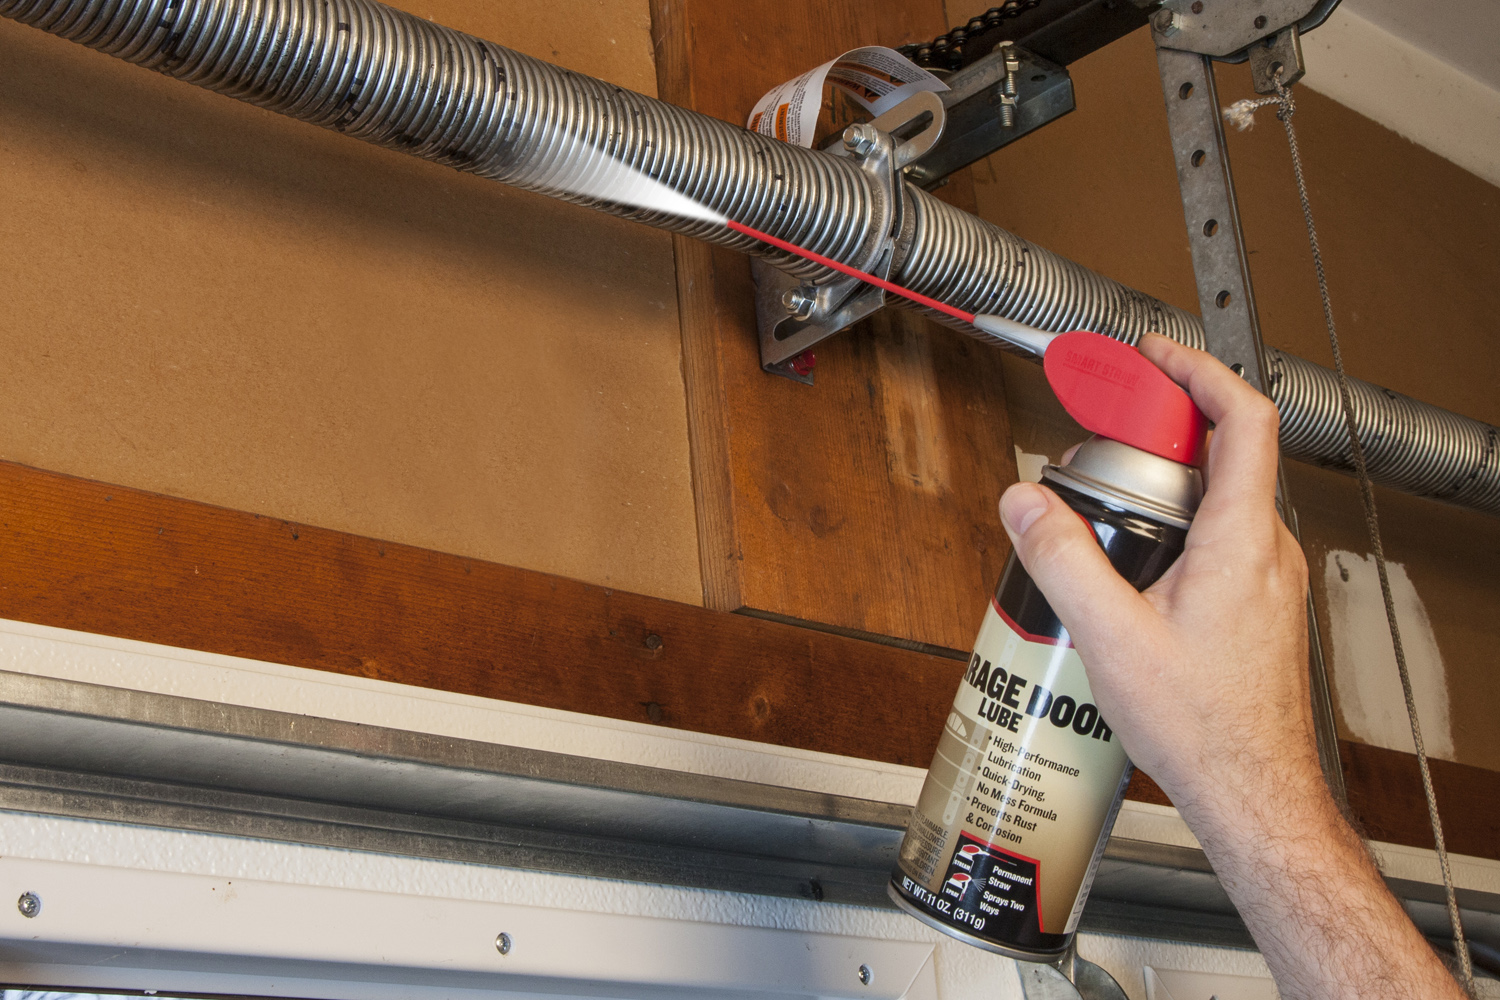
During reassembly make sure to lube the main gear by greasing on each and every tooth. Connect the sprocket and gear to the main central chassis with the help of head screws. Next, the motor frame is assembled you can use the head screws to install it to the chassis. Now, carefully reattach the white, blue, and red wires. Follow this by installing limit assembly and the drive gear ensuring that they sit properly. Next, attach the REM sensor and the wires. Put on the metal cover and end panels. Don’t forget to reconnect the photo eye, push-button wires, and install the circuit board.
Step 13:
Now it is time to connect the main power cord to the opener. Cycle the opener till the sprocket successfully completes an entire clockwise cycle. Keep the trolley in the down position before you install the chain. Unsecure the rail and reconnect the chain. Make sure that the sprocket and chain reference markings line up. Tighten the chain and secure the tightening lock nut.
Step 14:
It is time to run the opener and to find out if the door opens and closes correctly. Use travel adjustment screws to make any required adjustments.
Step 15:
If the garage door’s travel adjustment is correct then, you can move on to adjusting the force. This is defined as the pressure that is required to make sure that your door opener operates safely. First, check the downforce. Open the door and close it with the garage door opener. Stop it forcefully when it reaches halfway by holding it from the bottom. Now, if your door is difficult to stop or refuses to stop then, decrease the amount of downforce adjustment slightly. Do this until the door begins to reverse upwards with the application of reasonable force. However, if the door fails to close and light starts blinking then, increase the downforce adjustment slightly. Check the reversal at half-way.
If you have a chain-driven garage door opener, then shredded or broken plastic drive gears are a commonly occurring problem. The above mentioned 15 steps are designed to help you replace the main gear in the correct manner. However, before you embark on a repair and replacement journey, make sure that you have understood the steps involved and you have taken all the necessary precautions. Also, whichever parts you are procuring for replacement, make sure that they are compatible with your garage door opener. Finally, make note of all the connections as it can save you tons of time in the reinstallation phase. Further, it will ensure that you don’t cause any damage to the rest of the garage door opener unit.